We had a problem. We’ve been showing & telling people how to build AI workflows with Mux Video. But showing and telling is not quite good enough. People actually wanted us to just handle that stuff for them.
Sure, if you are a Mux customer, you can go and write all the code for summarizing & tagging videos. Your code will:
- Download a transcript from Mux
- Extract thumbnails
- Send them to their preferred LLM, with a specific prompt that they wrote
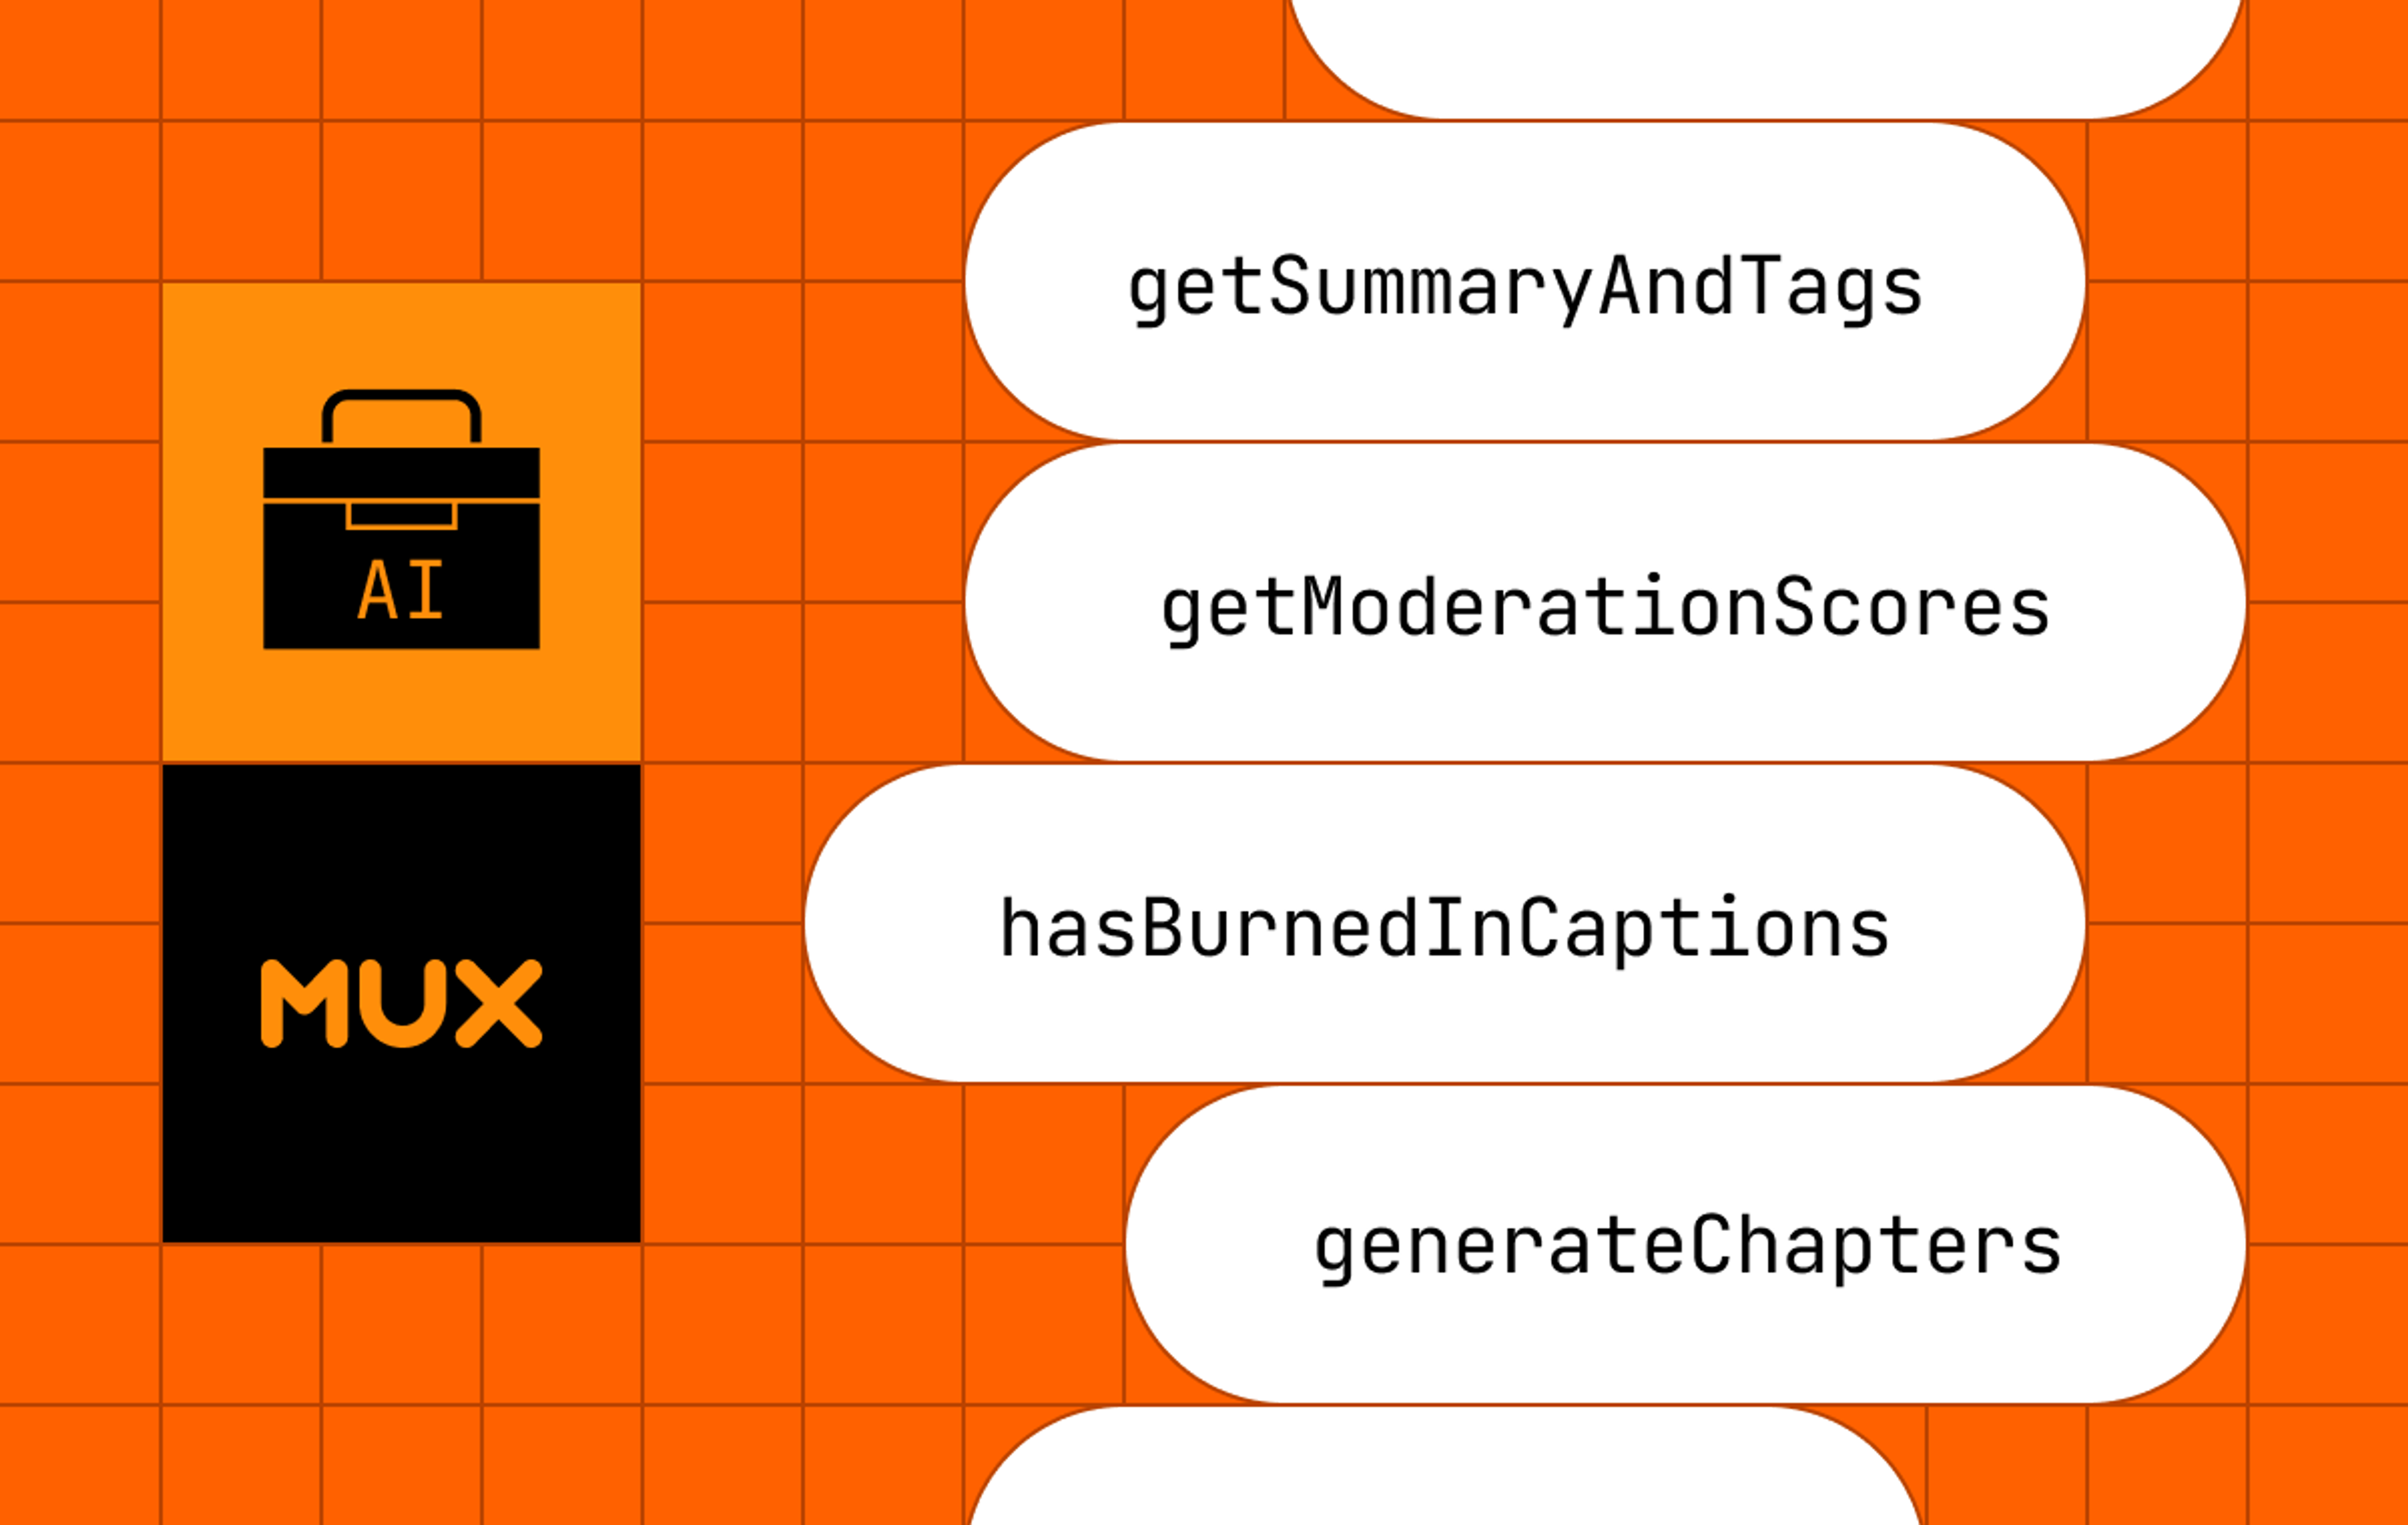
We’ll never stop you from doing that, but there are some use cases where you would just want that all done for you, so we introduced @mux/ai:
import { getSummaryAndTags } from '@mux/ai/workflows';
const result = await getSummaryAndTags(assetId);
There you go, now you get back a summary and tags for the video. You can configure some of the prompt details, which LLM model to use, etc. By default you’ll just get back what we think is the best general-purpose summary and tags.
There’s a handful of obvious AI workflows:
- Summarization & tagging
- Content moderation
- Translations
So we can just go on our merry way, and keep adding new workflows. We’re done here 🎉… Or, not quite.
AI Workflows sound easy, until you run them in production
If you’re going to call these workflows in production, you’ll need some resiliency. If there’s one thing I’ve personally noticed about using all these LLM APIs is that they break a lot. Like a lot. Way more than any other API. And sometimes responses take a long time (tens of seconds, minutes, or longer even).
Think about this, if you’re calling a workflow on your server:
const result = await getSummaryAndTags(assetId);That single call is going to trigger several network requests, image downloads, and calls to LLMs. Even more for other workflows like translations.
The @mux/ai SDK has baked-in retries for recoverable errors, which is helpful if you’re running this in a single long-running node process. It does a good job of helping your workflows recover from errors and finish the job without crashing.
If you’re running this on production you can throw that top level function into a background job so that if it fails, despite re-trying the recoverable errors, you can re-try the whole job.
The question we asked ourselves was: how can we help simplify production-ready workflows?
Making it really, really simple
We could have simply documented it and said: “Hey, to run this stuff in production, use queues, handle retries, etc.” That’s reasonable, but it wasn’t the best we could do. Particularly when you want to have step-level retries, that gets a lot harder.
We started exploring if we can expose a general API around each “step” within the workflow, that would allow you to hook-in, get the state, save it, resume it, etc. but that all started to look pretty cumbersome. It would require a lot of extra code and plumbing in our SDK and potentially adapters for different queuing providers. It starts to get complicated quickly.
Along came Workflow DevKit
I’ll be honest, when Vercel’s Workflow DevKit first came out, I was skeptical. What struck me as odd is this pattern of magic directives changing runtime code behavior, and I read some great articles discussing the different sides of the argument.
A good dose of skepticism is healthy when looking at new software projects — I think there’s good arguments to be made for and against this pattern, but that’s not what I’m here to debate. What I care about is practicality. What is going to be the optimal path for Mux to ship “durable workflows” in an SDK that is easy for customers to adopt.
Choosing practicality
The more I thought about it and the more I started playing with Workflow DevKit, I realized it is quite nearly the exact solution we needed.
These are the principles we wanted to make sure were a part of any solution we used:
- No hard requirement to use any kind of infrastructure
- You can run functions from @mux/ai in any node or node-ish environment, just like a normal SDK
- If you want to have durability, observability and error handling, then it should be as easy as possible to layer that in
- We do not want to create a bunch of wrappers and have to maintain compatibility with all kinds of different datastores, queues, 3rd parties, etc.
Workflow DevKit checked more of these boxes than anything else we could think of. It allows us to maintain the “normal case”.
import { getSummaryAndTags } from '@mux/ai/workflows';
const result = await getSummaryAndTags(assetId);
And then very simply allow people who are using Workflow DevKit to make it “durable”.
import { start } from 'workflow/api';
import { getSummaryAndTags } from '@mux/ai/workflows';
const run = await start(getSummaryAndTags, [assetId]);
You’ll notice in these two examples the normal example and the durable example use the same export from @mux/ai/workflows. That is key. Because that means we do not have to maintain different exports, different packages, different layers of workflow integration. All this means:
- Our top level getSummaryAndTags function has the ”use workflow” directive
- Each async step inside the function has the ”use step” directive
If you’re in a normal node environment, those directives are ignored. It’s a no-op. If you’re in a Workflow DevKit environment, those directives make the workflow durable and give you:
- Observability
- Error handling
- Retries
- …and everything else the toolkit has to offer: https://useworkflow.dev/docs/getting-started
Obviously, Workflow DevKit is a Vercel thing, but it’s not only a Vercel thing. Like with anything Vercel puts out: the developer experience is insanely great. It’s easy to deploy it on Vercel, but you don’t have to use Vercel. With Workflow DevKit you can have different “Worlds” (the persistence layer) that can be Vercel, Postgres, Redis, Mongo, etc. and in addition to Next.js there’s a number of different runtime adapters. Even super simple ones like Vite, which we use as a plugin to Vitest for integration tests.
Workflows can be nested
There’s this really cool feature of Workflow DevKit, which is that workflows can be nested, so you can weave in your own application-specific logic.
For example, you can define your own ”use workflow” function, and inside your workflow, call a Mux workflow. Each step inside the Mux workflow will show up as a single series of steps in the observability for your top level workflow.
import { start } from "workflow/api";
import { getSummaryAndTags } from '@mux/ai/workflows';

async function processVideoSummary (assetId: string) {
  'use workflow'

  const summary = await getSummaryAndTags(assetId);
  const emailResp = await emailSummaryToAdmins(summary: summary);

  return { assetId, summary, emailResp }
}

async function emailSummaryToAdmins (assetId: string) {
  'use step';
  return { sent: true }
}

//
// this will call the processVideoSummary workflow that is defined above
// in that workflow, it calls `getSummaryAndTags()` workflow
//
const run = await start(processVideoSummary, [assetId]);The nitty-gritty of building with Workflow DevK in @mux/ai
Runtime adapters
The very first thing to understand about all this is that Workflow DevKit is a framework-level or runtime-level integration. It’s not an SDK that has an API.
That means, you have to use one of the adapters, like Next.js, Vite, or the others.
The way it works conceptually is that the process that is building or running your code has to go through some workflow code to get transformed and made “durable”
Node dependencies
If you’re modifying an existing node library to be compatible with Workflow DevKit, one of the main things you’ll need to change is that any function marked with ”use workflow” can only do simple things. It’s limited in which npm packages it can depend on and it doesn’t have access to the full Node environment.
The details of this are technical, but it has to do with how Workflow DevKit persists state and manages retries and stuff like that.
But that’s not as bad as it sounds. Your ”use step” functions (where the majority of the work is actually happening) DO have access to the full Node environment. So you can do whatever you want in ”use step” functions (as long as you follow the next rule about Serialization). If you’re refactoring, the changes you would make are:
- Mark some functions with ”use workflow”
- Run them in a Workflow DevKit environment, see if it crashes (it will if you have an unsupported dependency or are trying to use a node thing)
- Anything that is crashing needs to be moved to a different function and marked with ”use step”
- Have your workflow function call the new step functions
Serialization
Next, because ”use step” functions are discrete and get persisted to your database with the input and output details, the arguments that get passed in and the return values must meet the Serialization rules – which is they can be only simple Javascript types: https://useworkflow.dev/docs/foundations/serialization.
Your ”use step” functions cannot, for example return an instance of a class, or a reference to another function, etc. They can only return strings, numbers, booleans, and things like that. See the full list of serializable types.
Testing
The next thing we had to figure out here was writing integration tests for the @mux/ai functionality that runs through Workflow DevKit.
We’re using vitest, which is handy because Workflow DevKit has an integration with Vite. The way we had to set this up is:
- Two test harnesses. One for “regular” node with vitest, and one for vitest with the workflow/vite plugin
This is the vitest config:
import { defineConfig } from "vitest/config";
import { workflow } from "workflow/vite";

export default defineConfig({
  plugins: [workflow()],
  test: {
    include: ["**/*.test.workflowdevkit.ts"],
    testTimeout: 300000,
    globalSetup: "./vitest.workflowdevkit.setup.ts",
  },
});
And the setup script, which runs a full Nitro server as a sidecar process to vitest.
import { spawn } from "node:child_process";
import { setTimeout as delay } from "node:timers/promises";

import type { ChildProcess } from "node:child_process";

import "dotenv/config";

let nitroServer: ChildProcess | null = null;

const PORT = "4000";

export async function setup() {
  // eslint-disable-next-line no-console
  console.log("Starting Nitro server for workflow execution...");

  // Start nitro dev server with inherited environment variables
  nitroServer = spawn("npx", ["nitro", "dev", "--port", PORT], {
    stdio: "pipe",
    detached: false,
    cwd: "test-server",
    // eslint-disable-next-line node/no-process-env
    env: process.env,
  });

  // Use a promise to wait for server readiness
  const serverReadyPromise = new Promise<boolean>((resolve) => {
    const timeout = setTimeout(() => resolve(false), 15000);

    // Listen for server output
    nitroServer?.stdout?.on("data", (data) => {
      const output = data.toString();
      // eslint-disable-next-line no-console
      console.log("[nitro]", output);

      if (output.includes("listening") || output.includes("ready") || output.includes("Nitro")) {
        clearTimeout(timeout);
        resolve(true);
      }
    });

    nitroServer?.stderr?.on("data", (data) => {
      console.error("[nitro]", data.toString());
    });

    nitroServer?.on("error", (error) => {
      console.error("Failed to start Nitro server:", error);
      clearTimeout(timeout);
      resolve(false);
    });
  });

  await serverReadyPromise;

  // Give it an extra moment to fully initialize
  await delay(2000);

  // eslint-disable-next-line no-console
  console.log("Nitro server started and ready for workflow execution");

  // Set the base URL and data dir for local workflow execution
  // eslint-disable-next-line node/no-process-env
  process.env.WORKFLOW_LOCAL_BASE_URL = `http://localhost:${PORT}`;
  // eslint-disable-next-line node/no-process-env
  process.env.WORKFLOW_LOCAL_DATA_DIR = "./test-server/.workflow-data";
}

export async function teardown() {
  if (nitroServer) {
    // eslint-disable-next-line no-console
    console.log("Stopping Nitro server...");
    nitroServer.kill("SIGTERM");

    // Give it a moment to shut down gracefully
    await delay(1000);

    // Force kill if still running
    if (!nitroServer.killed) {
      nitroServer.kill("SIGKILL");
    }

    nitroServer = null;
  }
}
Vitest here is hitting the nitro server on localhost:4000 in order to run through the workflow steps.
Let us know what you’re building
I’m really excited about launching @mux/ai backed by durable workflows. It is now straight forward to throw your videos into Mux, and then write a few lines of code to get summaries, tags, chapters, translations, content moderation, etc. with the latest frontier models — all in a way that is scalable, durable and production ready.
Let us know what you’re building with @mux/ai and Workflow DevKit.